This blog post has been assembled to share with a forum for parents of neurodivergent young people who are at University. There were discussions around the software and support that had been offered to students and what the software did and how to use it. (October 2024)
I hope that these will be useful for you and your children.
Many of the resources below appear on an open-access university website.
It is always worth visiting the home page for the software you want to research. Also, most universities have an assistive technology specialist and webpages. Make sure that your child has taken up any training they were offered with DSA and/or speak to the university about the software. So much is under-utilised and can provide valuable support.
Text-to-speech: Computer / tablet / phone reads aloud from the screen
- Read aloud in your browser – This uses the Edge browser. You can install this if you do not already have it. (Install Edge). The three dots in the top right hand corner open a menu where you can select ‘Read Aloud’. For some internet pages, you can also select the Immersive reader in your browser.
- The Immersive Reader in Word – Access through the View menu. This works in both the installed version and the online version. Some people prefer the online version.
- Read aloud in Word (ideal for proof-reading and annotating)
Glean:
Glean is note-taking software. The aim of the software is to assist the student in extracting the key points from the lecture. Although a full transcript can be extracted from the lecture / seminar, the overall aim is that the student comes away with the key points. The software supports the student in being able to focus attention on listening and participating in the lecture and taking ‘skeleton’ notes, which can then be revisited afterwards.
The Glean Skills Portal: Become a better learner | Glean – this contains short videos on key things you can do with Glean
AT Video Library (glean.co) – This page has a 30-minute training video – remember that it can be paused and the student can then practise that skill before moving on
Speech to text: (Dictate)
This is where you speak and your words are typed automatically into Word.
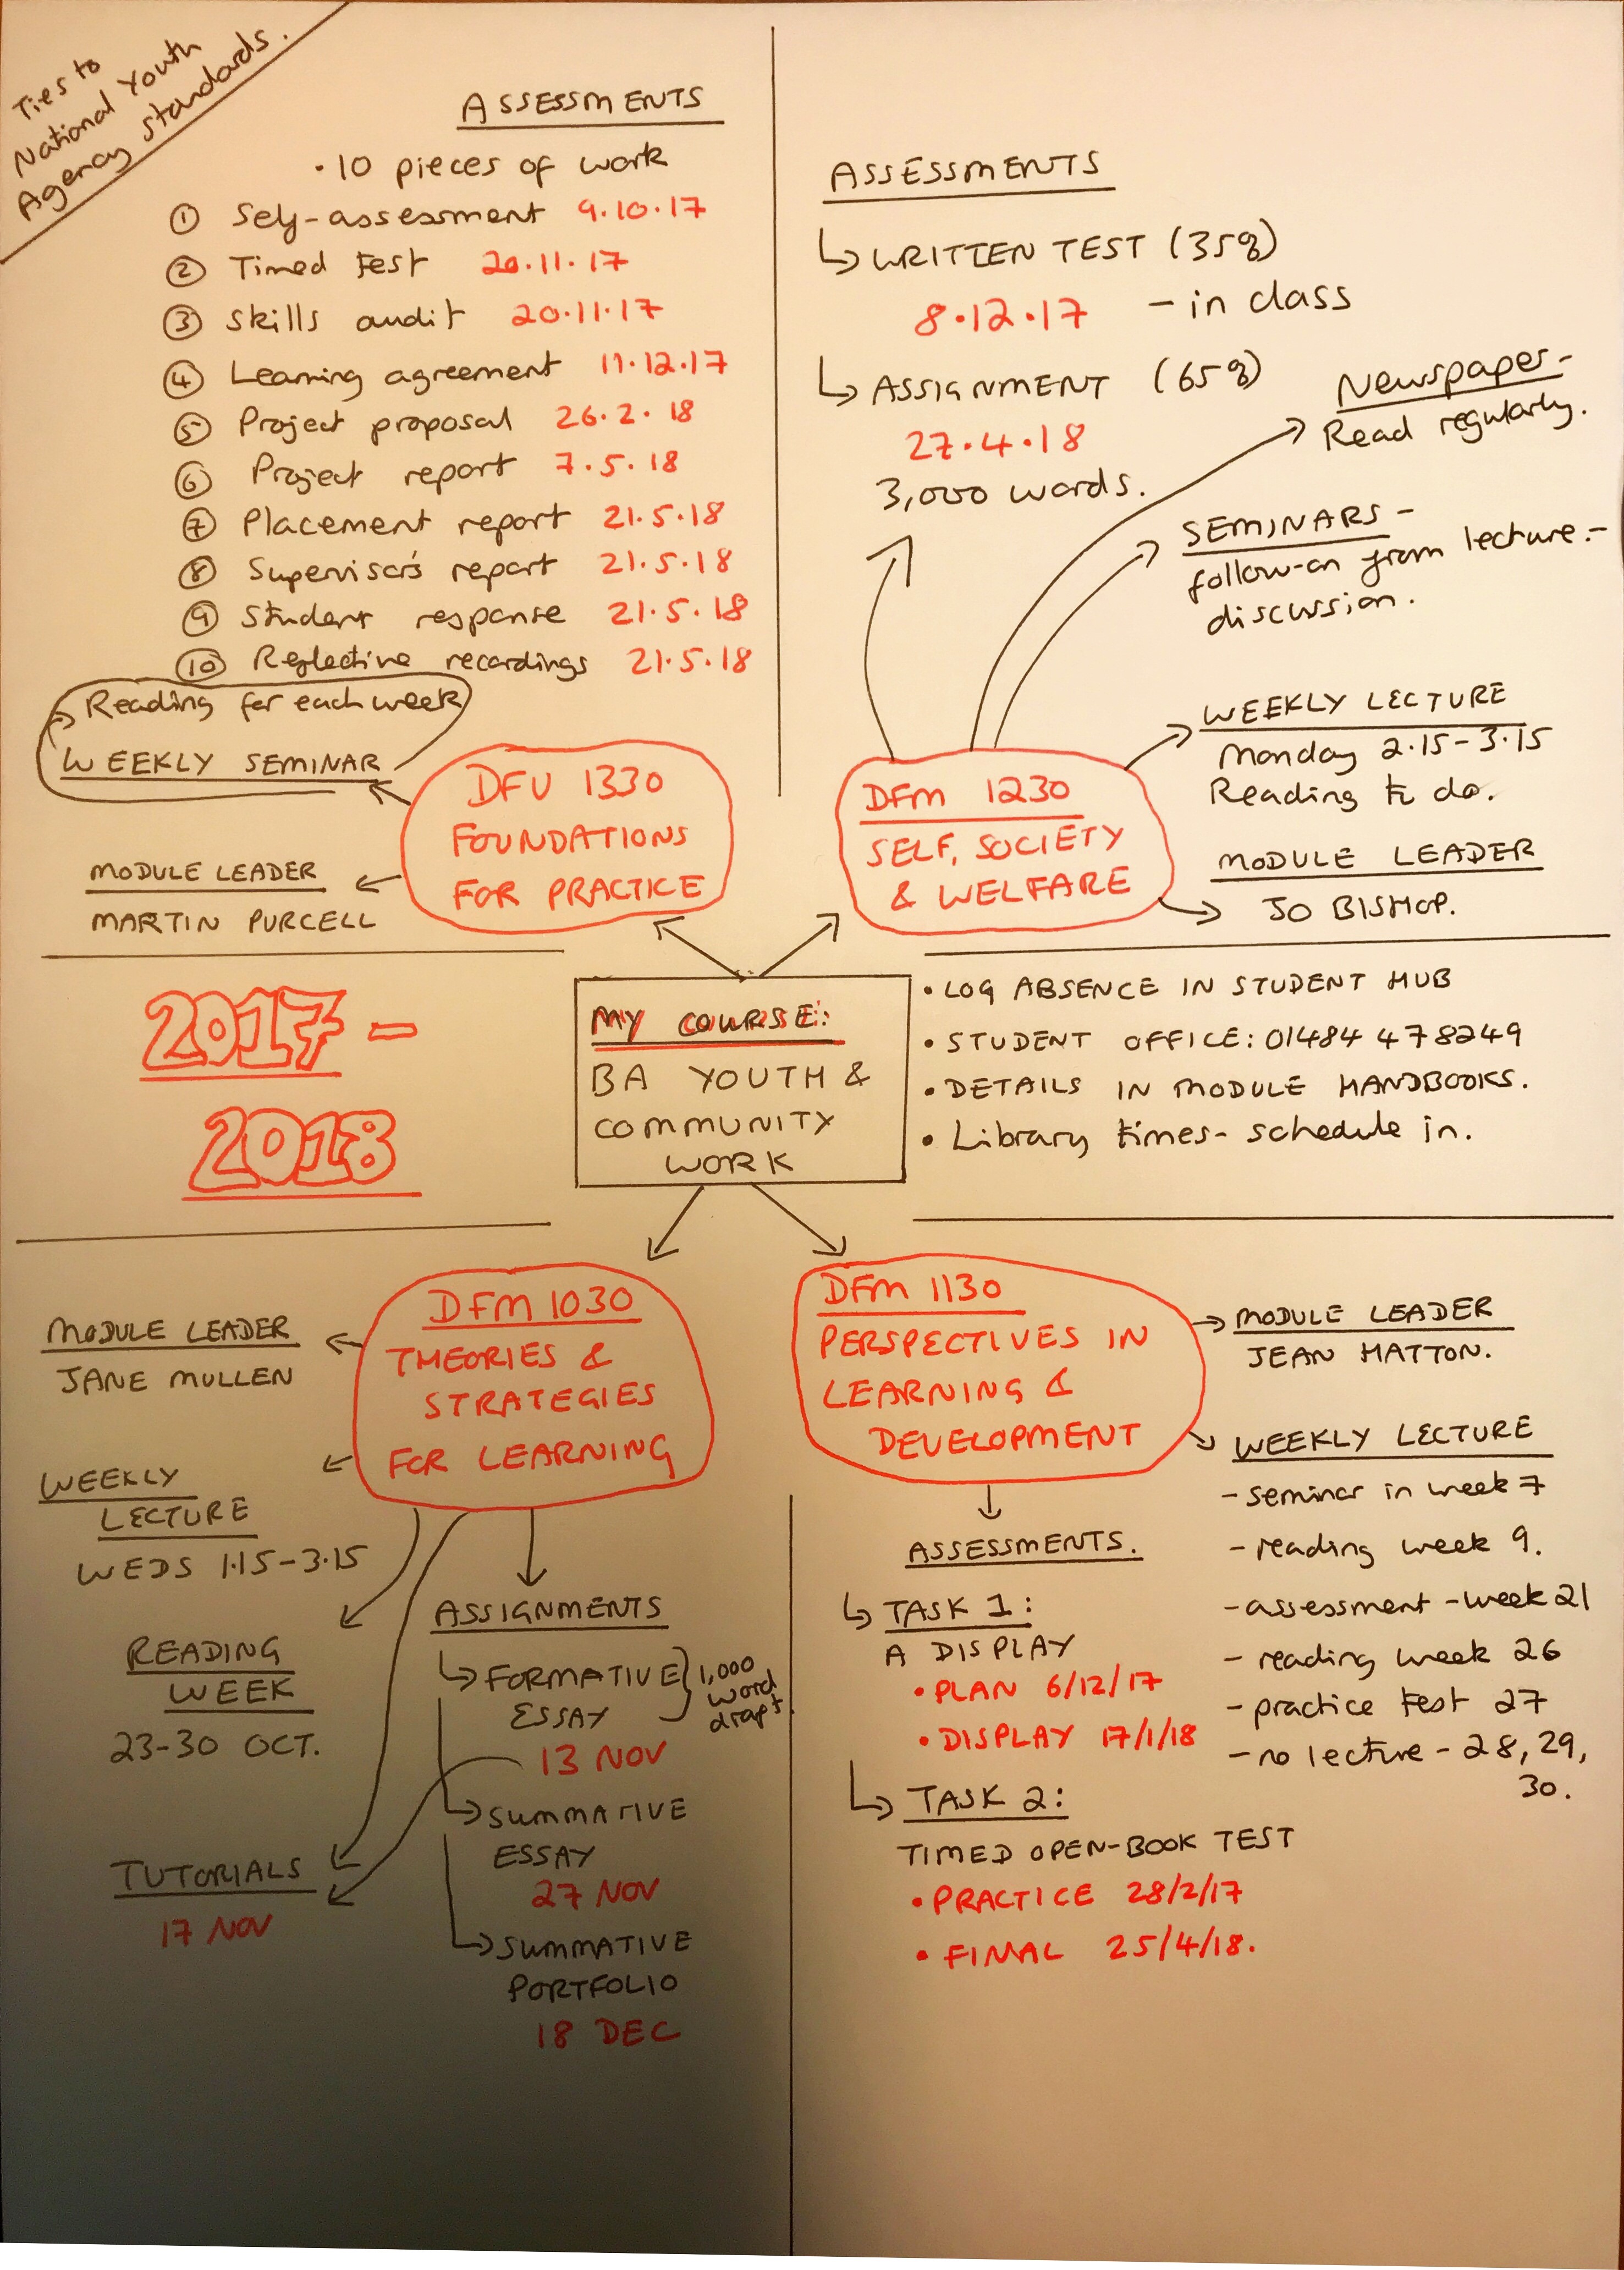
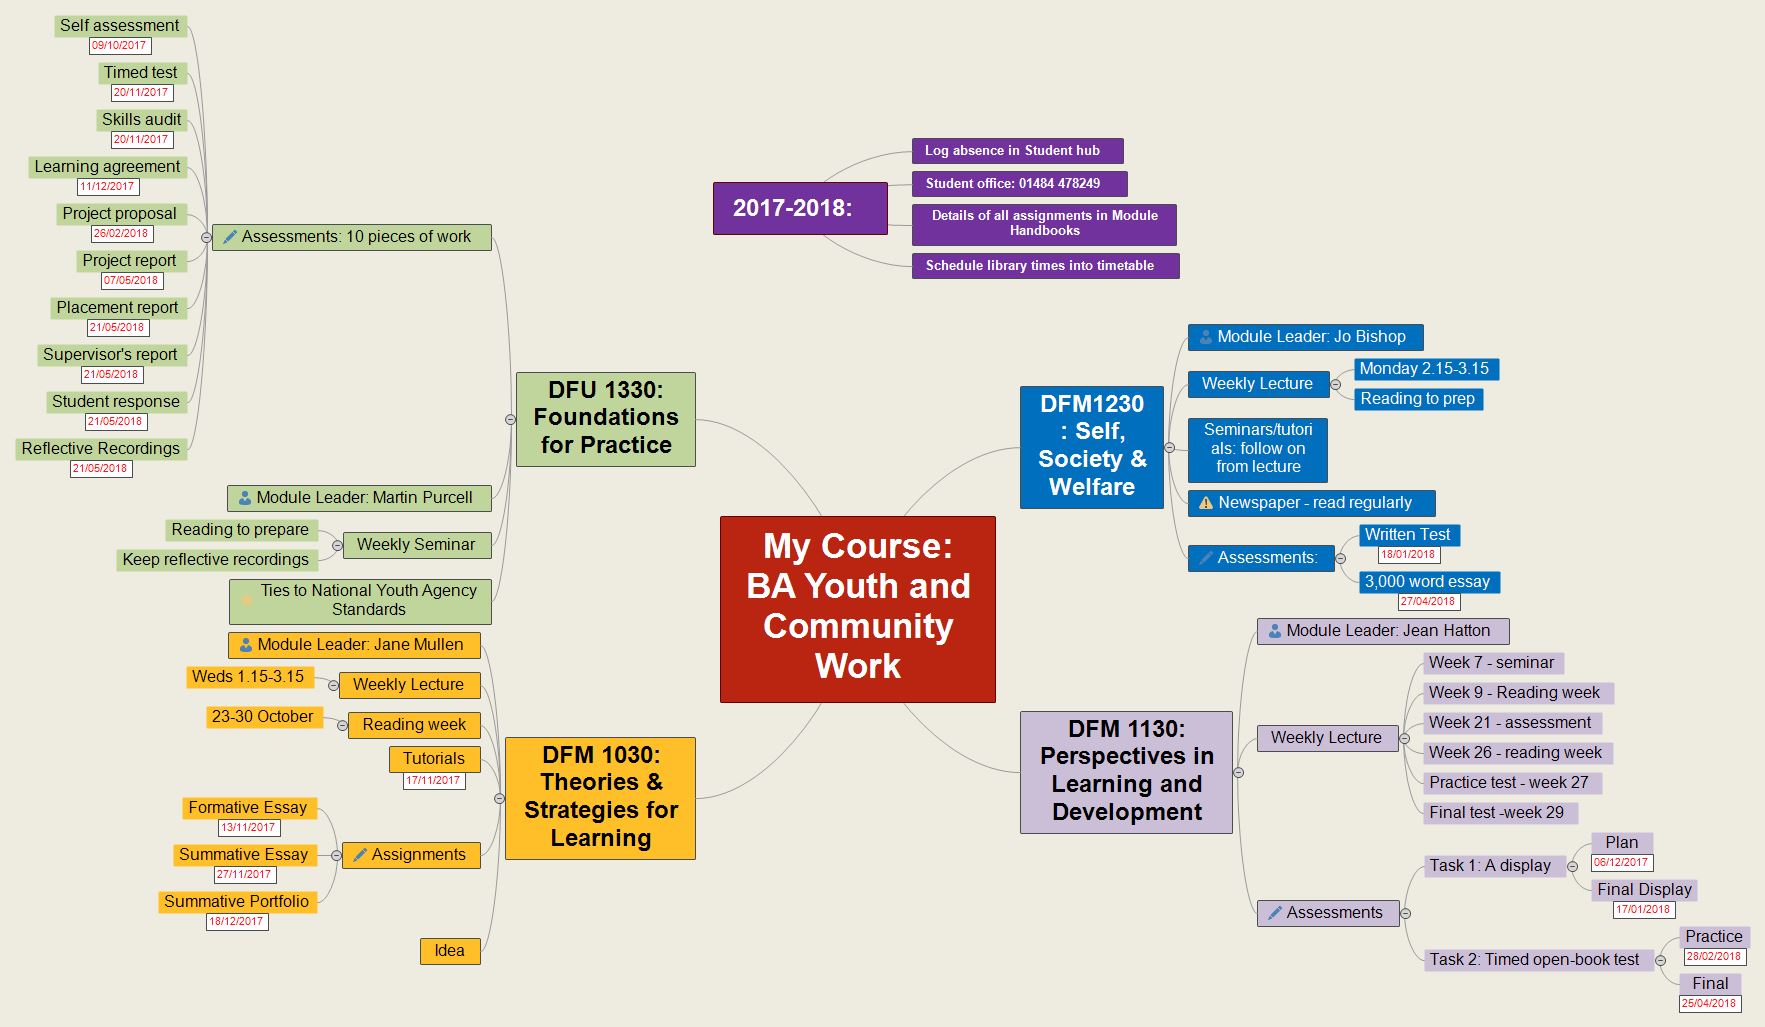
Mind-mapping
Mind-mapping can be very useful for presenting information in a visual way.
The information below refers to MindView, but other software is available that may do similar things. Some of the ideas can even be carried out with pen and paper.
You will need to find out which software your university offers or this is one that can be requested through DSA.
- Using MindView to plan and collate your information, including referencing – you can export all of this to Word when you are ready (Video- 10mins)
- You can add notes to any branch of Mindview
- You can Export to Word and your document will be already formatted with the correct Heading styles applied
- You can convert your MindMap into a GANTT chart to help with planning your time.
- You can add text or images from a webpage and keep the references by using the Capture tool
- Referencing – MindView allows you to bring in references from Mendeley and Zotero, but it also has its own built-in referencing tool. You can manually add your readings and when you export to Word, it carries over all your references to the References tool in Word, which means you can quickly generate your bibliography.
Screen and colour adjustments
- Dark Background and Light Text (Firefox) – Customizable light text on dark background.
- Font & Size Changer (Firefox) – Changes font size and font family